 AirsoftGuns s.r.o.
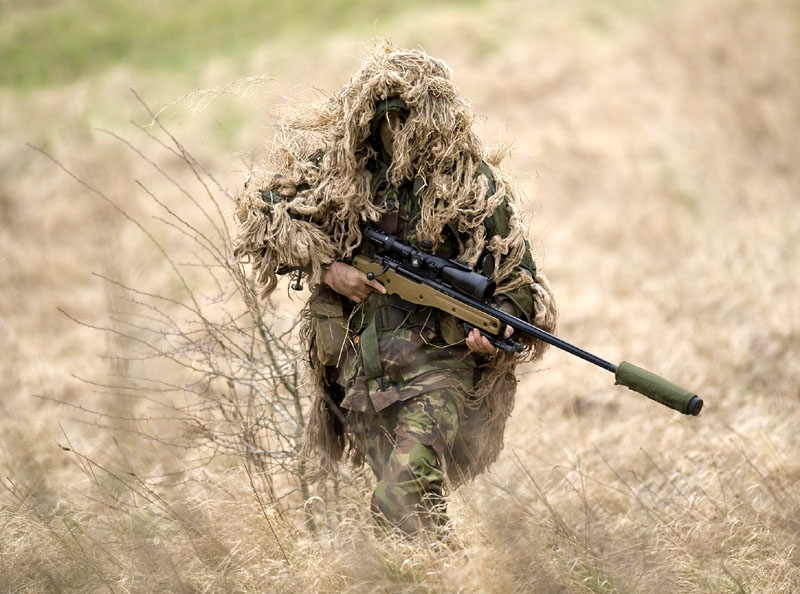
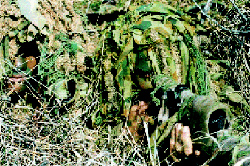
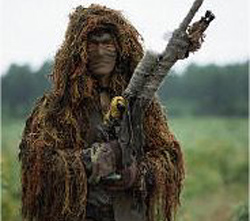
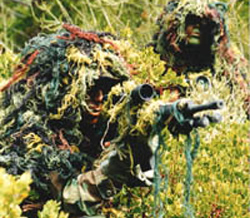
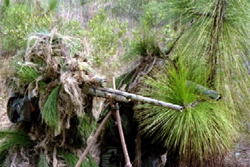
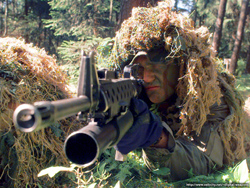
Make your own ghillie suit
19. 10. 2003Here are just one of many possible ways of construction, which I've used me and which I witnessed. So do not take it as definitive. Plus I'm sorry some of whom may be my guide will also feel like a fool for.
Basic needs is uniform (shirt + pants, a jacket or suit), needle, thread, netting, lots of burlap (at least 10 m and must be thinly braided to make a good tearing), textile paints, foam, solid green or camouflaged cloth.
 |
 |
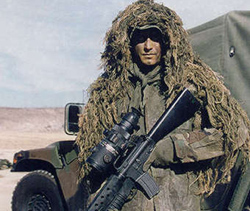
The first thing you need to do is think about how will be ghillie suit wearing. In basic decide wear this over uniform, or do ghillie directly on uniforms that will be worn constantly. From personal experience, I find it more convenient overcoat because in ghillie is infernal heat :-) and the possibility to take off it comes in handy. Of course, in case of rain and other things not bad to be able to take it off.
 |
 |
If we are chosen, we need to decide what base use. If the suit or BDU, and as a headdress. If cap, baseball cap or a hood attached to the rest. The hood is quite practical, merging well and in addition you will thread patter on the neck, which is quite annoying.
Foundation we have chosen now proceed to the coloring burlap. Burlap is needed before processing paint. They proved to me completely normal rainbow colors and foliage from the firm. Iberia. The colors are of course very important. There should be no contrast between them. In the case of AS must also be aware of where you use it. On the other hand, it is nice to have a perfect ghillie suit into one environment, but if you elsewhere will not be it. So if you do not do multiple ghillies it is best to get a decent all-rounder in shades of green and brown.
 |
 |
Good colors are as follows:
1)green 50% + brown 50%
2)green 25% + brown 25% + olive green 50%
3)green 50% + olive green 50%
4)Pure color "leaf green", Iberia
Due to the versatility of our ghillie suit would do so 1/3 of sackcloth some light greenish tint. That will give the bottom. Now we move on to the definitely the most boring part - ripping burlap. Burlap is a need to split into individual fibers. And so it entirely. It's a very tedious and boring job, but the result is worth it. Fibers then cut into double-length "hair" than we have the resultant. It's good to make other lengths. For example, at the hands threatening to them while crawling trodden it is to do less.
 |
 |
The next step is the preparation of the substrate to which we are ready to establish sackcloth. First, adjust the jacket (I counted using a standard US BDU). Evaporate lower pockets. We do the same in the prone position and can only cause unnecessary capture of vegetation like. Instead, we take two sheets of foam and fabrics and place those at the bottom reinforcement, because they heavily loaded just when crawling and similar activities. Likewise, we reinforcements elbows and the front of his pants.
If we use the hood, we construct now right here. The simplest is to get someone else or, eg. From the old M-65 Parker or sew your own. It's not difficult. It's just two pieces of fabric sewn together. Hood then sew the blouse. ATTENTION!!! It must be very firmly sewn otherwise hood torn off. Will her a lot of material and will hang up it could tear off! Another adjustment will be sewed camouflage nets into the hood. Sew inside the mesh hung over his face. I suggest you use a piece of Velcro to put mesh capture maneuvered away from your face when you do not want to have smothered or at night when it is difficult to see through the mesh. Further adjustments are no limits. For example, it is not wrong to inside jacket pocket sewn on the equipment. For example, on beads, cartridges backup weapons and so on.
 |
 |
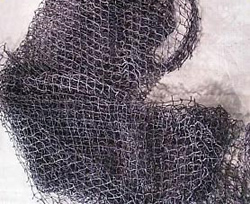
After that, we prepare for the establishment of a blouse strands of burlap. It needs just mentioned netting. The best is a soft mesh with a mesh of about 2-3 cm wide. One can also use a mesh of camouflage nets. From that, it is necessary to rip the original camouflage - camouflage foam or what the substance. Then we sew on a blouse and trousers, where we have a masking - the whole back and the back of the pants, shoulders, upper arms, shoulders front piece and of course the most important thing - hood.
 |
We sew around the network at every fourth node. Burlap we continue fox loop, therefore, we translate and loop it under the fabric and fold it through both strands.
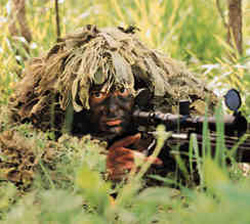
First, we establish a base color that we have the most. Then we follow other colors. If we want to create something like a Woodland we follow different colors in clusters. Just leafy greens do not recommend putting in clusters. It's quite a contrast, and so it is better to have her little by little. Thus, we continue until we reach the necessary density and color. One of the advantages of this method is speed networking and the ability to add or remove color with the seasons. On his hands and feet short "hair" to prevent accidental compression of the like.
 |
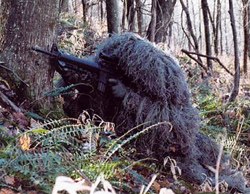
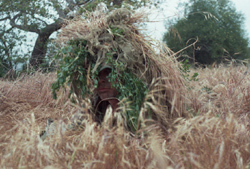
This full suit is substantially complete. It remains only to take it outside and try the. Written like this, it looks pretty good, but it's definitely hard work and time consuming.